
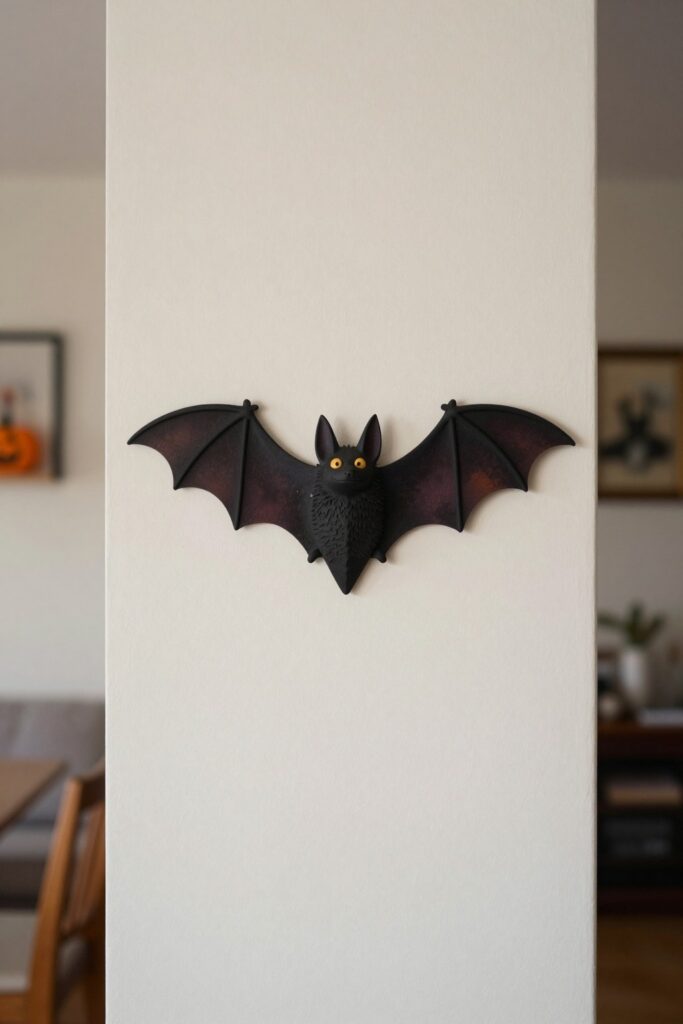
Styled project images are AI-generated concepts, not photographs of projects we completed. These are proposed ways to make or arrange the ideas; no physical project testing is claimed. Printable previews show the actual downloadable files.
A bat-themed wall can easily feel cluttered when the available space is narrow or already has a focal point. These seven bat wall decor ideas for Halloween in small spaces focus on clear shapes, directional movement, and intentional empty space. Each concept shows how a different arrangement—diagonal, clustered, arched, curved, sparse, layered, or horizontal—can work with your wall’s architecture. Use these ideas to match the layout to your space and desired visual intensity.
1. Corner-to-Ceiling Flight Path
Gather: paper or cardstock bats, paper layout, surface-compatible fixings.
- Lay the flight path out on the floor, starting with the lowest bat and moving toward the corner. Transfer the arrangement one bat at a time.
This concept shows bats traveling diagonally from a lower corner toward a higher point. The diagonal line adds direction and visual lift, making an empty wall feel intentional rather than bare. The progression from small to larger bats can suggest depth without filling the whole wall.
It suits a tall, narrow wall or a corner that needs movement. Place it where the diagonal can lead the eye upward, such as beside a doorway or in a stairwell, and keep the area around it relatively clear so the flight path reads clearly.
2. Compact Doorway Swarm
Gather: paper bats, paper doorway outline, removable fixings.
- Mock up the swarm above one side of the doorway; keep the door swing and trim clear.
A concentrated cluster of bats frames one side or the top of a doorway. This high-impact arrangement draws attention to a transition area without spreading across the wall. Grouping bats tightly creates a focal point that feels intentional and space-efficient.
Use it on a narrow wall beside a door or above a doorframe where a full wall display would be too much. The swarm can be scaled to fit the available width, and leaving the rest of the wall plain keeps the doorway from feeling crowded.
3. Neat Bat Arch
Gather: paper bats, pencil layout, removable fixings.
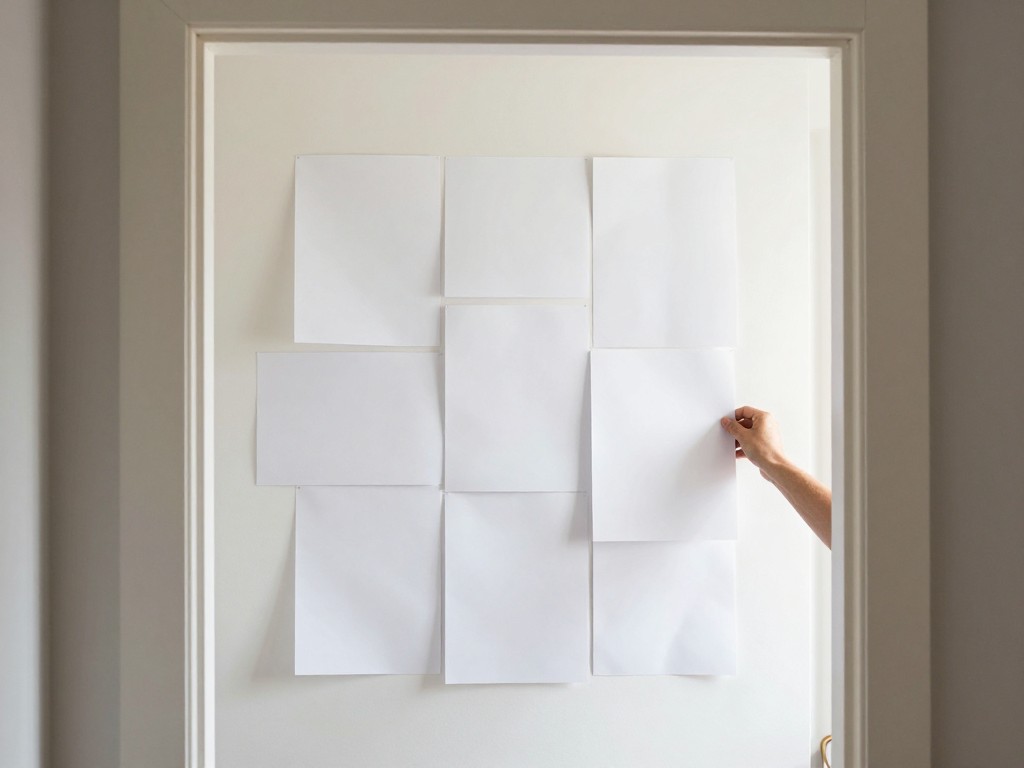
- Mark the arch on a paper plan and place the largest bats first, with smaller shapes filling the curve.
Bats arranged in a balanced arch above a console, mirror, or display surface create a tidy, graphic composition. The symmetrical curve provides structure and a clear central focus. This layout feels orderly and works well when you want a polished look.
It fits above a piece of furniture or a mirror where the arch can frame the object below. The arch can be adjusted in width and height to match the surface, and keeping the wall around it simple helps the shape stand out.
4. Crescent Around a Mirror
Gather: paper bats, mirror outline sketch, removable fixings.
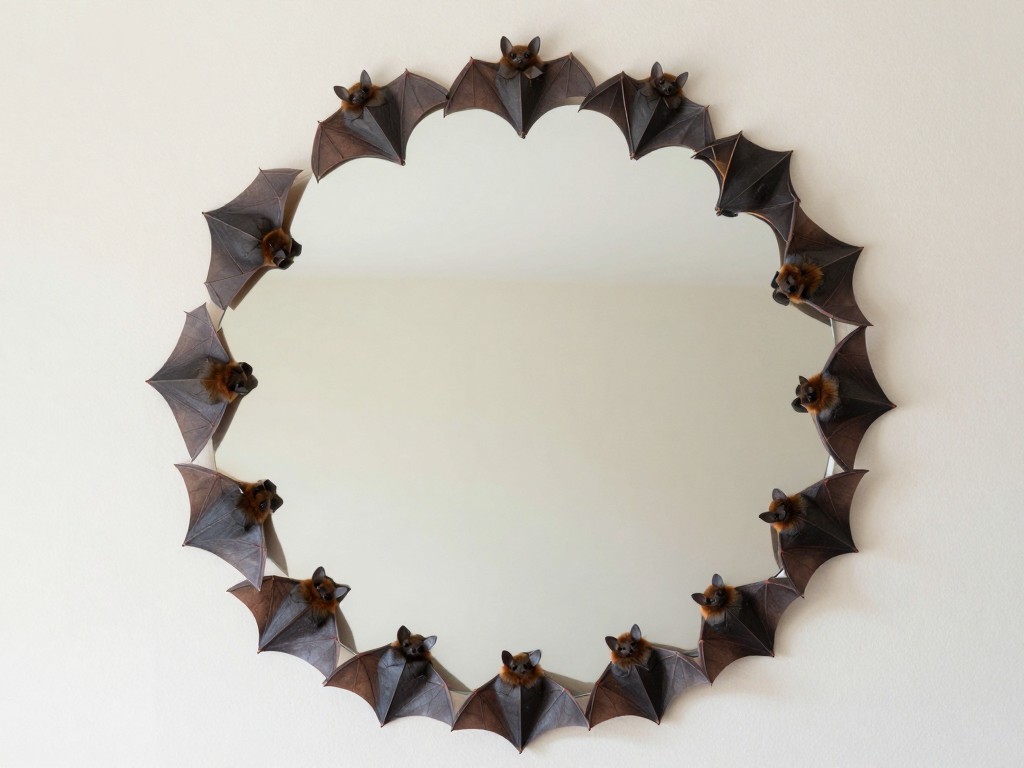
- Arrange a crescent beside the mirror instead of attaching objects to its glass; keep the frame and reflection usable.
A curved sweep of bats surrounds an existing mirror or seasonal focal point. This arrangement enhances the central decor rather than competing with it. The crescent shape adds a soft curve that contrasts with straight architectural lines.
Place it around a mirror, clock, or artwork that you want to highlight. The bats can follow the contour of the object, and leaving the rest of the wall open keeps the focus on the centerpiece.
5. Sparse Corner Drift
Gather: paper bats in two sizes, layout paper, removable fixings.
- Start with three widely separated bats and add only enough smaller shapes to suggest direction.
A small group of bats moves gently from one corner into open space. This restrained accent preserves a calm wall and adds just a hint of Halloween. The sparse spacing makes each bat noticeable without overwhelming the area.
Use it in a corner where you want a subtle seasonal touch, such as near a reading nook or above a side table. The limited number of bats keeps the wall from feeling busy, and the open space around them maintains a light, airy feel.
6. Layered Shadow Cluster
Gather: paper bats, folded paper spacers, compatible fixings.
- Build a layered arrangement on a separate backing sheet first; keep the complete piece lightweight and follow fixing instructions.
Overlapping bat silhouettes at varied visual scales create a denser, more dimensional composition. The layers suggest depth and texture without covering the entire wall. This approach works well when you want a focal point that feels rich but contained.
It suits a wall segment that can handle a concentrated design, such as between two windows or above a low cabinet. Varying the sizes and slight rotations of the bats adds interest, while keeping the cluster within a defined area prevents it from feeling chaotic.
7. Horizontal Night Flight
Gather: paper bats, a horizontal paper guide, removable fixings.
- Plan a loose line at one height, then vary the spacing rather than making an evenly spaced border.
Bats moving in a broad horizontal band across a wall connect a shelf, artwork, or furniture grouping into one seasonal scene. The horizontal line ties separate elements together and creates a sense of movement across the space. This layout is especially useful for linking a long, low arrangement.
Use it above a sofa, a long shelf, or a row of hooks where a unifying element is needed. The band can be as wide or narrow as the furniture below, and the bats can be spaced to echo the rhythm of the objects they connect.
Related next step: plan a small craft corner; or arrange simple fall decor.